
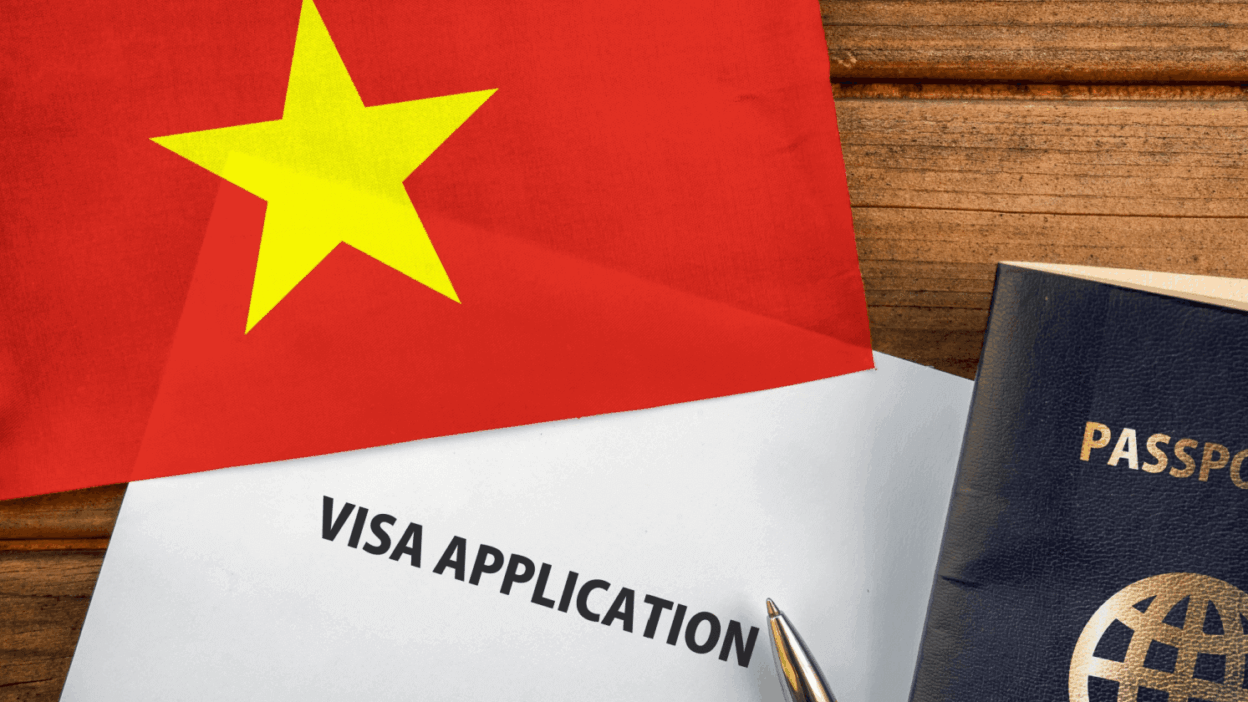
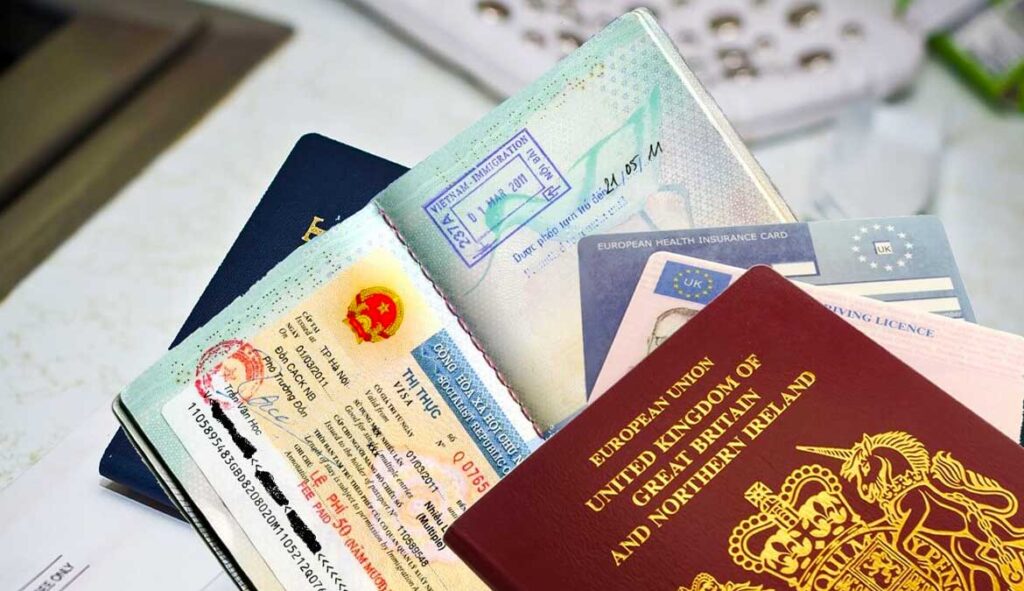
Planning a trip to Vietnam often begins with securing the correct visa. For travelers flying into one of Vietnam’s international airports—Hanoi (HAN), Ho Chi Minh City (SGN), Da Nang (DAD), Nha Trang (CXR), Phu Quoc (PQC), or other designated ports—the Vietnam visa on arrival (VOA) offers a convenient alternative to embassy applications.
With a pre‐approval letter issued online, you complete formalities at the airport’s visa counter, pay a stamping fee, and receive your visa sticker in 15–30 minutes. This comprehensive, SEO‐optimized guide covers everything you need—eligibility, steps, documents, fees, tips, and FAQs—to navigate the Vietnam visa on arrival process smoothly.
Why Choose Vietnam Visa on Arrival?
Opting for Vietnam visa on arrival brings several key advantages:
- Convenience: No embassy or consulate visit required—complete the process online.
- Time‐Saving: Pre‐approval letters arrive in 2–4 working days; airport stamping takes minutes.
- Flexibility: Select single‐entry or multiple‐entry, 30‐day or 90‐day visa options.
- Cost‐Effective: Agent service fees are modest (USD 10–20) and government stamping fees start at USD 25.
- Wide Access: VOA is accepted at all major international airports across Vietnam.
By choosing Vietnam visa on arrival, you minimize paperwork, avoid consular queues, and maximize your travel freedom.
Who Is Eligible for Vietnam Visa on Arrival?
To qualify for Vietnam visa on arrival, you must meet the following criteria:
- Arrival by Air: Your first entry into Vietnam must be via one of the designated international airports. VOA is not available for land border or seaport entries.
- Valid Passport: Passport must have at least six months of validity remaining beyond your intended departure date, plus at least two blank pages.
- Travel Purpose: VOA applies only to tourist (DL) and business (LD) visas. It does not cover work permits, student visas, or long‐term residence.
- Licensed Agent Application: You must apply through an authorized visa service provider who submits your details to Vietnam Immigration for the pre‐approval letter.
If you plan to overstay, work, or enter by land/sea, consider alternatives such as embassy visas or the e‐visa system.
4. Types of Vietnam Visa on Arrival
Vietnam visa on arrival is available in four main categories to accommodate different itineraries:
| Visa Category | Entries | Validity | Ideal For |
| 30-Day Single Entry | Single | 30 days | Short vacations or business trips |
| 30-Day Multiple Entry | Multiple | 30 days | Side trips to Laos or Cambodia |
| 90-Day Single Entry | Single | 90 days | Extended stays without re‐entry plans |
| 90-Day Multiple Entry | Multiple | 90 days | Long‐term travel with multiple exits |
Choose the category that best fits your length of stay and travel schedule to minimize unexpected visa issues.
Step-by-Step Application Process
Follow these six steps to obtain your Vietnam visa on arrival:
Step 1: Choose a Licensed Visa Agent
Search for reputable, licensed visa service providers online. Look for:
- Clear pricing and refund policies
- Positive customer reviews and testimonials
- 24/7 customer support, especially for arrival‐day assistance
Pro Tip: Compare at least three agents before deciding to ensure competitive rates and reliable service.
Step 2: Fill Out the Online Application Form
On the agent’s website, complete the VOA application:
- Enter personal details: full name, date of birth, passport number.
- Specify arrival/departure dates and airport of entry.
- Select visa category (30-day vs. 90-day; single vs. multiple entry).
- Pay the agent’s service fee (typically USD 10–20) via credit card or PayPal.
After submission, you’ll receive a transaction confirmation email.
Step 3: Receive and Print Your Pre‐Approval Letter
Within 2–4 business days (or faster if you pay for express service), the agent emails:
- The official Visa Pre‐Approval Letter (in PDF).
- A Visa Guide with arrival procedures and desk locations.
Print two copies of the approval letter on A4 paper.
Step 4: Prepare Arrival Documents
Before departure, gather:
- Passport: Valid ≥ 6 months, two blank pages.
- Pre‐Approval Letter (2 copies) printed.
- Passport‐Style Photos (2): 4×6 cm, white background, recent.
- Completed Arrival Card (NA-1): Fill out on the plane or download online.
- Cash for Stamping Fee: Exact USD amount or VND equivalent.
Organize everything in your carry‐on for easy access.
Step 5: Complete the Arrival Card (NA-1)
At the airport or on your flight, complete the Vietnam arrival/departure card:
- Section A: Entry details
- Section B: Departure portion to keep safe until leaving Vietnam
Present the entry portion alongside your documents at immigration.
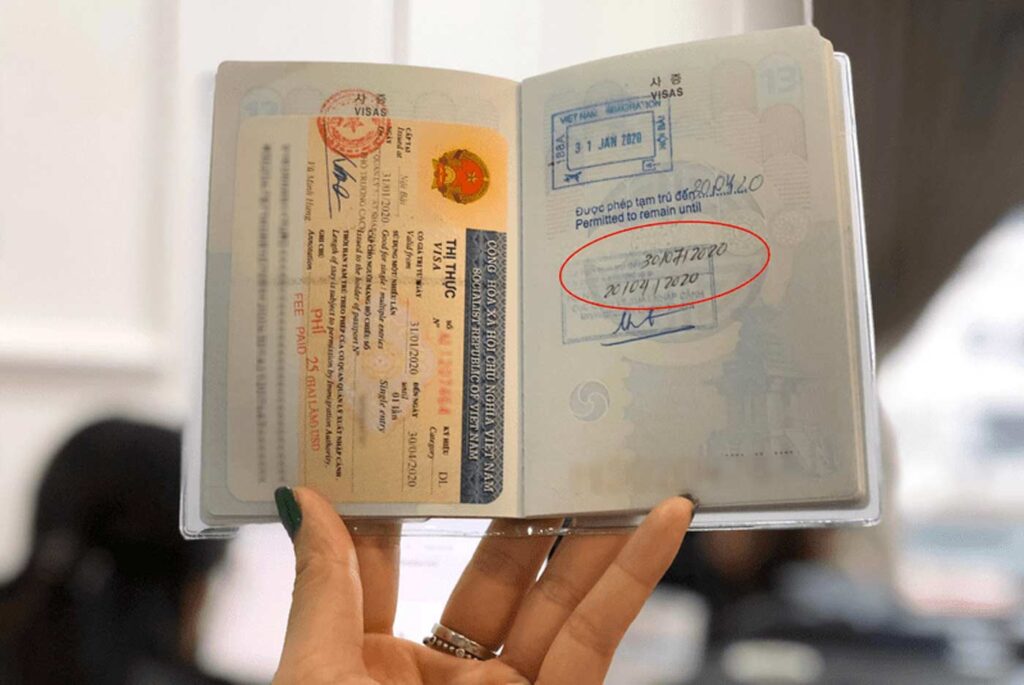
Step 6: Pay Stamping Fees & Collect Your Visa
Upon arrival:
- VOA Counter: Present passport, pre‐approval letter, photos, and entry card.
- Pay Government Fee:
- 30-day single: USD 25
- 30-day multiple: USD 50
- 90-day single: USD 50
- 90-day multiple: USD 95
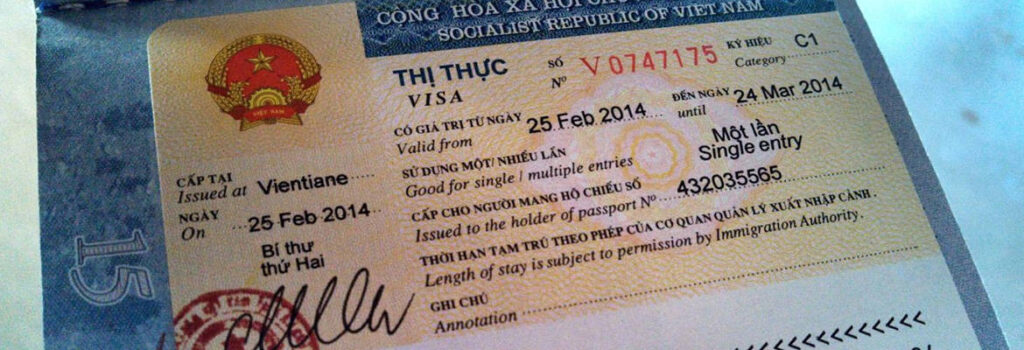
- Receive Stamped Passport: Wait 15–30 minutes for your visa sticker.
Once stamped, proceed through immigration and start your Vietnam adventure!
Required Documents & Photo Specifications
| Document | Details |
| Passport | ≥ 6 months validity; ≥ 2 blank pages |
| Pre‐Approval Letter (2) | Official PDF from agent; printed in color recommended |
| Passport Photos (2) | 4×6 cm, white background, no glasses or hats, recent (≤ 6 months) |
| Arrival Card (NA-1) | Fill out before landing; keep departure part safe |
| Stamping Fee | Exact USD (cash) or VND |
Ensuring accuracy and completeness of these documents will prevent delays at the VOA counter.
Vietnam Visa on Arrival Fees and Processing Times
| Fee Type | Amount (USD) | Processing Time |
| Agent Service Fee | USD 10–20 | Paid online |
| Government Stamping Fee | USD 25–95 | Paid on arrival |
| Standard Letter Issuance | — | 2–4 business days |
| Express Letter Issuance | — | 1 business day (extra fee) |
Total Estimated Cost:
- 30-day single: USD 35–45
- 30-day multiple: USD 60–70
- 90-day single: USD 60–70
- 90-day multiple: USD 105–115
Plan your budget accordingly, and factor in exchange rate fluctuations if paying in VND.
Pros and Cons of Vietnam Visa on Arrival
Pros
- No Embassy Visits: Complete all paperwork online.
- Quick Arrival Processing: Visa stamped in under 30 minutes.
- Flexible Choices: Multiple durations and entry types.
- Wide Airport Access: Accepted at all major international airports.
Cons
- Agent Dependency: Must use a licensed third party.
- Airport Only: Not valid at land border or seaport crossings.
- Additional Fees: Service fee on top of government stamp fee.
- Flight Delays Risk: Late arrivals may miss VOA desk hours.
Balance these factors against your itinerary and entry method to decide if VOA is right for you.
Top Tips for a Smooth Vietnam Visa on Arrival Experience
- Apply Early: Submit your application at least 7–10 days prior—4 weeks in peak season.
- Verify Agent Credentials: Check for official licensing and positive reviews.
- Bring Exact Cash: Have exact USD banknotes for government fees; avoid airport exchange counters.
- Keep Digital Backups: Email yourself PDFs of all documents in case of loss.
- Arrive During VOA Desk Hours: Most close around 11 PM local time—confirm with your agent.
- Dress Business Casual: Immigration officers may ask questions; neat attire helps.
- Double‐Check Details: Ensure names, dates, and passport numbers match exactly.
Following these practical tips will minimize stress and ensure your Vietnam visa on arrival goes off without a hitch.
Common FAQs About Vietnam Visa on Arrival
Q1: Can I enter Vietnam by land with VOA?
No. VOA is only valid for air arrivals. Land and sea entries require embassy visas or e-visas.
Q2: What if my flight is delayed?
Contact your agent immediately. VOA counters may have specified closing times; late arrivals risk missing visa stamping.
Q3: Is VOA extendable?
Yes. You can extend a VOA through local immigration offices via licensed agencies, typically in 30-day increments.
Q4: Can minors get VOA?
Yes. Every traveler, regardless of age, needs a valid visa. Include children’s details in the pre-approval application.
Q5: Are VOA fees refundable if denied?
Agency service fees are often non-refundable. Government stamping fees are only paid upon successful arrival.
Pre‐Departure Checklist & Timeline
| Timeline Before Departure | Action Item |
| 4–6 weeks | Research and select a licensed visa‐on‐arrival agent. |
| 2–4 weeks | Complete online application; pay service fee; receive approval letter. |
| 1 week | Print documents, prepare photos, confirm flight and VOA desk hours. |
| Departure day | Pack documents in carry-on, arrive early, go to VOA counter. |
| Upon arrival | Fill arrival card, present docs, pay fees, collect visa. |
Use this checklist to stay organized and avoid last-minute hassles.
Ready for Your Vietnam Visa on Arrival?
The Vietnam visa on arrival process offers travelers an efficient, cost-effective way to secure entry into Vietnam without the hassle of embassy visits. By following this ultimate guide—selecting the right visa category, applying through a reputable agent, preparing accurate documents, arriving on time, and paying the exact fees—you’ll breeze through immigration and begin your Vietnamese journey with ease.
Next Steps:
- Choose your visa type (30- or 90-day, single or multiple entry).
- Select and apply through a licensed VOA agent.
- Gather and print all required documents.
- Book your flights, then get ready to explore Vietnam’s rich culture, stunning landscapes, and vibrant cities!
Safe travels and Have a happy trip!
Contact email with VietnamTour.
See more posts: Best time to visit Vietnam: Ultimate seasonal guide